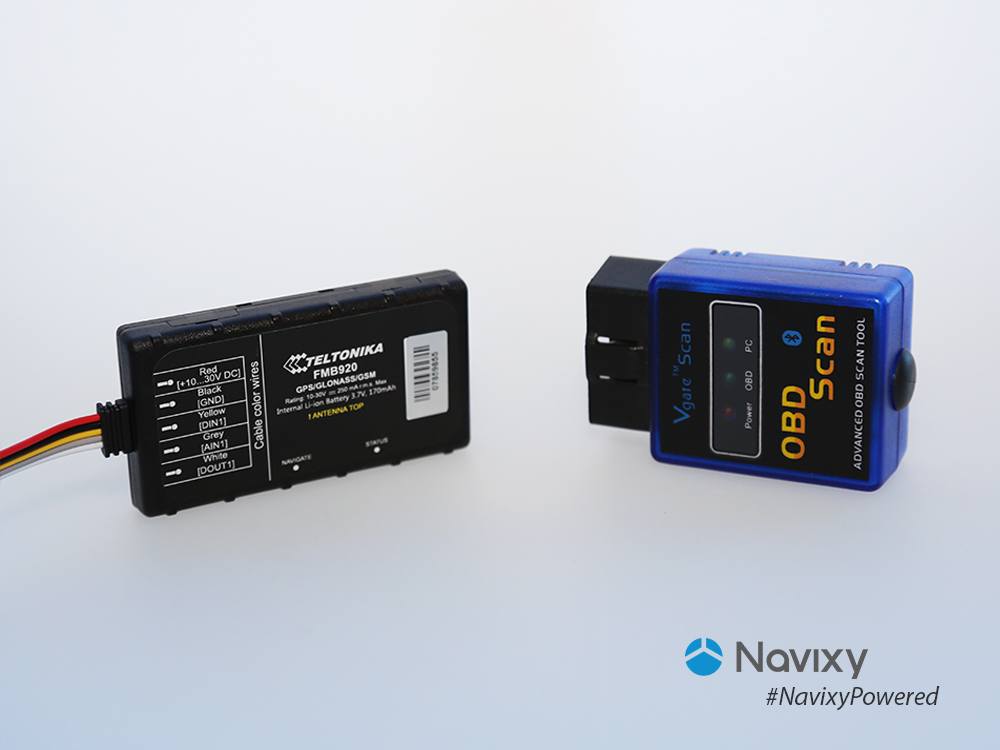
Our previous review was on the new line of Teltonika GPS trackers. Some of the partners were intrigued by the models FMB900 and FMB920. These trackers have a number of advantages, but the most interesting is Bluetooth 3.0 module. It allows to improve integration possibilities with external devices. This time we tell you how to connect an OBD2 scanner via Bluetooth and get extensive diagnostic data in Navixy software.
Bluetooth tuning and OBD2 parameter list
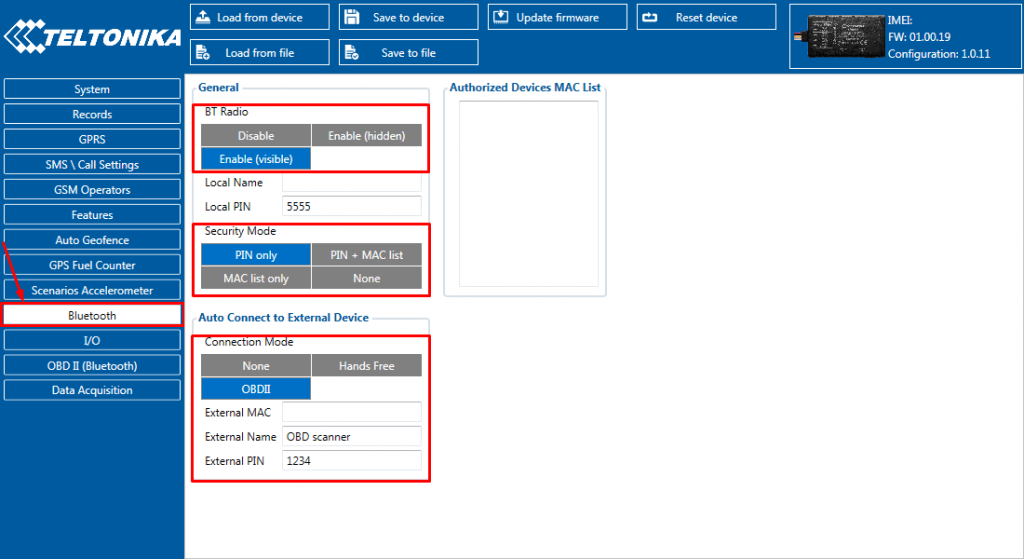
If OBD2 scanners have ELM327 and STN1110 modules, you are more than welcome to connect them to FMB900 / 920 trackers. First, you need to configure the tracker. Connect it to a PC, run FMB Configurator and fasten your eyes on the Bluetooth section. As you can see, the manufacturer provides quite a wide range of options for setting up the Bluetooth connection. In this case it is enough to specify standard settings.
- Turn on the Bluetooth module and make the tracker visible to other devices;
- Specify the Security mode (PIN only or None) and Connection mode ODB2;
- Enter the device name. For example, "OBD scanner" and enter its PIN-code (it is usually 0000 or 1234. You can find out more in the scanner instruction).
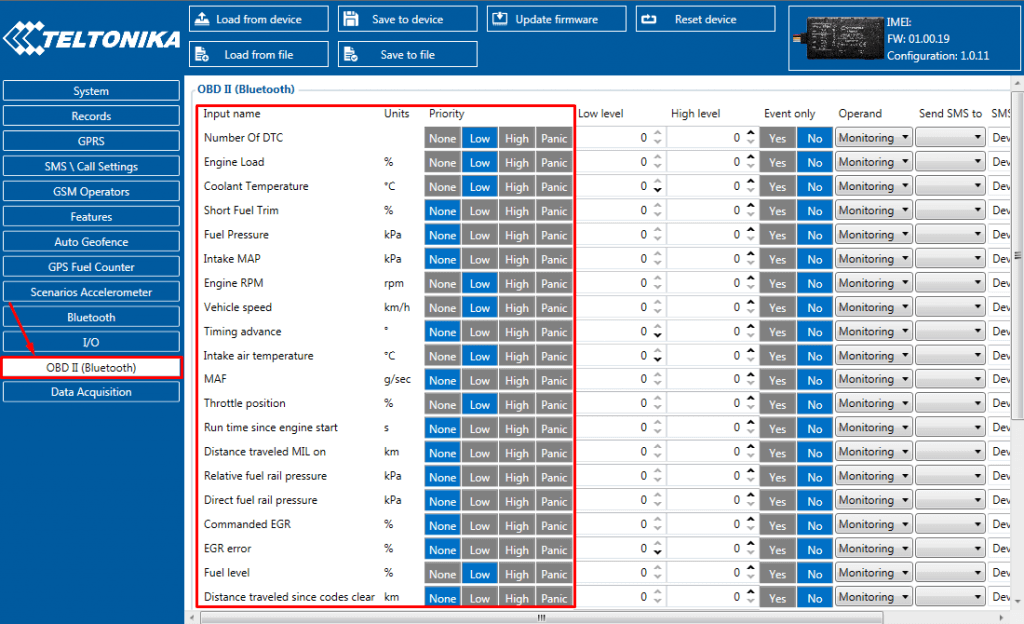
Next, decide what diagnostic data you want to analyze. Activate the data transfer to Navixy monitoring platform: go to the OBD2 (Bluetooth) section, where the entire list of parameters available and specify the priority.
Browse OBD2 data in the monitoring system
When GPS tracker setup is finished, install the device in the car and connect it to the power supply - simple as that. Next, install the OBD Bluetooth scanner in the diagnostic port and turn on the ignition. Automatic pairing between the devices will take no more than a minute.
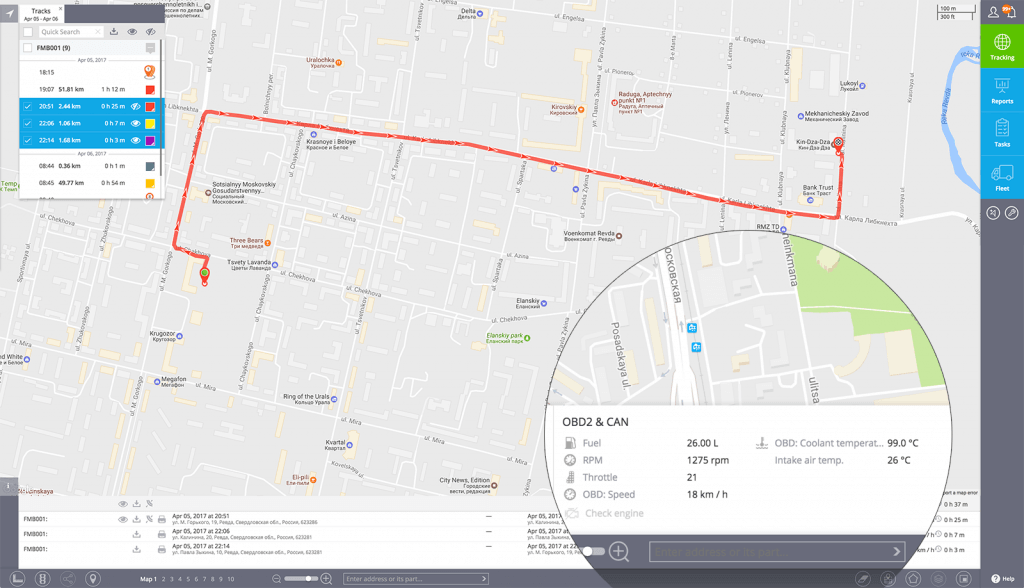
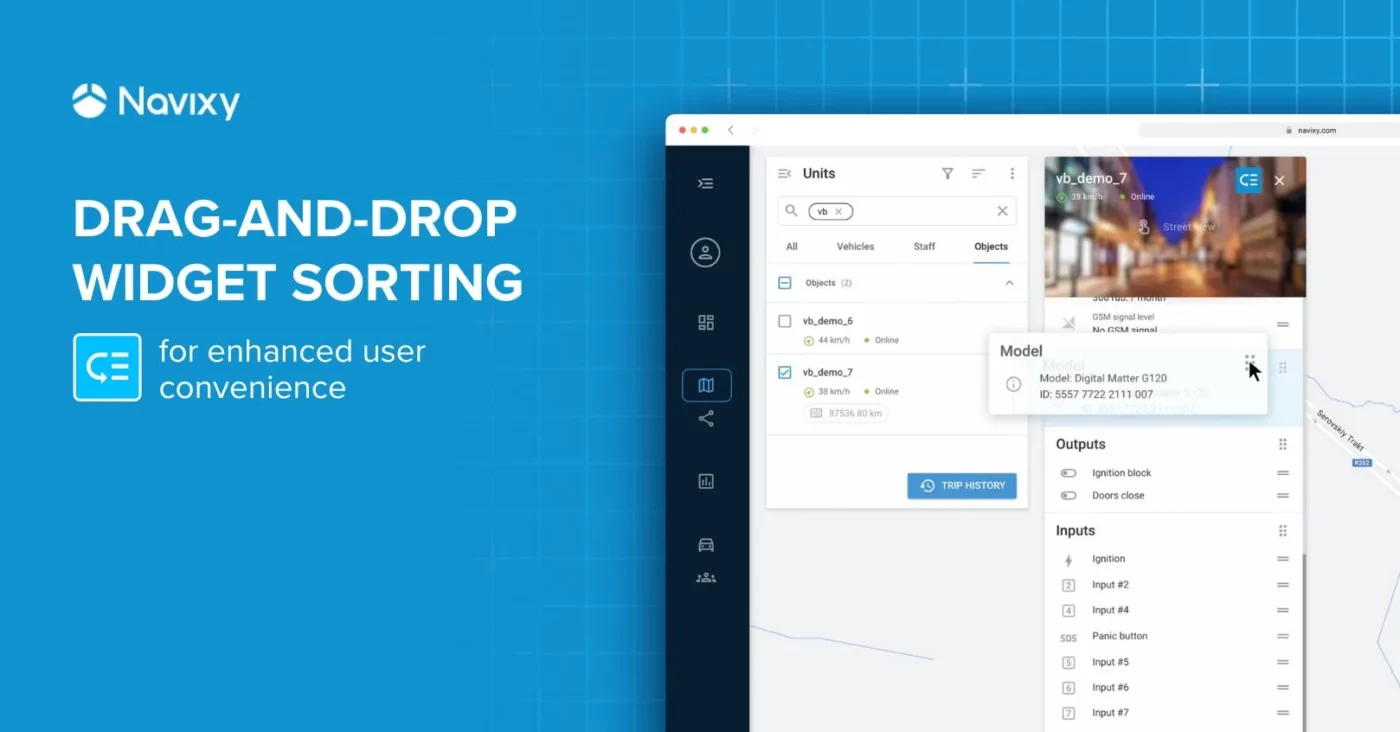
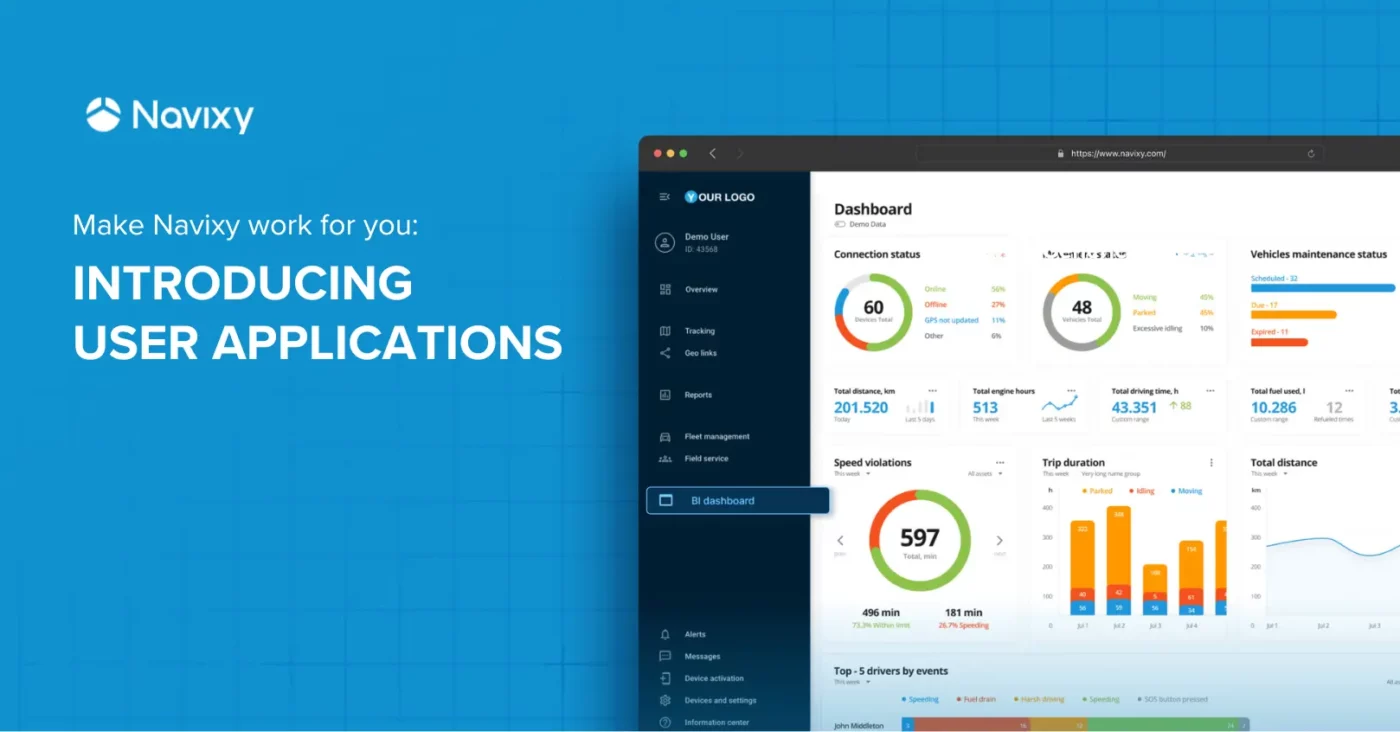
As for Teltonika FMB900 / 920 models, Navixy supports OBD2 telemetry data processing by default, including Check Engine lamp status and DTC trouble codes. Therefore, you can immediately see all these data in the X-GPS Monitor app or Web-interface OBD2 widget.
During our test the OBD2 values were popping into the system gradually. Their number were increasing as the scanner read them. We displayed seven most important parameters including the fuel level.
Summing up
OBD2 scanner connecting procedure is fairly simple and does not take much time. Nevertheless, we should take a note that a vehicle model determines what OBD2 data parameters will be displayed in the system. Not all vehicle models support the whole list. Furthermore, there are no any notifications about scanner connection loss. For example, when it is disconnected from the OBD port. That is why it is not fitted for fuel monitoring. However, this device might be popular among enthusiasts who need to get the most information about the vehicle to assess its performance.
Bluetooth 3.0 module is a great benefit of the Teltonika FMB9XX models. Unfortunately, today it has less interesting possibilities such as OBD Bluetooth scanner connection. We think the situation will change when telemetric Bluetooth sensors (fuel level, temperature) come. Just give it time.
