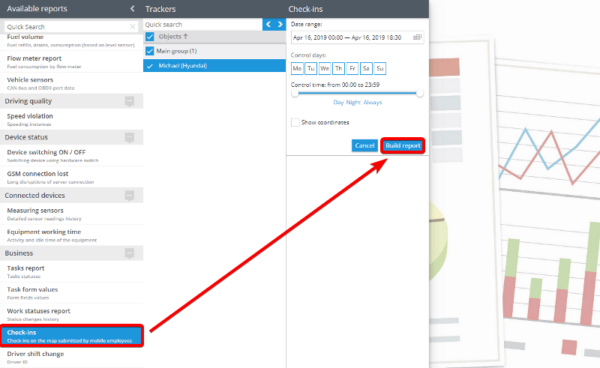
The “Check-in” feature allows you to fix your location on the map, attach up to 9 photos and add a comment.
Field employees using X-GPS Tracker can report on visiting checkpoints, report on work performed, and also to transmit more detailed information on various events.
Sending a mark
To send a mark:
- Open the X-GPS Tracker mobile app;
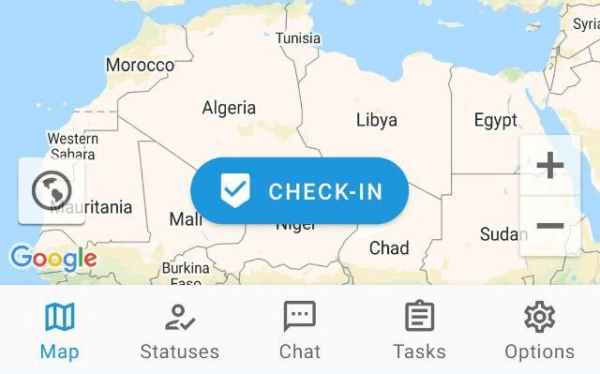
- On the “Map” tab, click “Check in”;
- In the opened window add a photo and comment;
- Click on the “Check-in” button to send a message to the monitoring system.
After that, the information contained in the check-in mark will be transmitted to the server.
About each new mark you will receive:
- Notifications in the web-interface
- Push-notifications in mobile app
Forms in check-ins
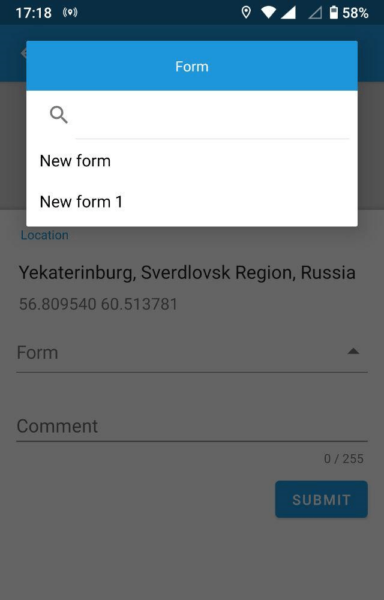
You can also attach and fill out the form before submitting the check-in. This feature can be useful, for example, in cases when an employee performs an emergency unplanned task and the operator has not yet entered it into the system.
The process is absolutely identical to how you do it when performing tasks in the X-GPS tracker application. However, there are a couple of things to consider when using this feature:
- Filling out the form is always optional to submit the check-in.
- The form, like the check-in itself, can be sent only if tracking is enabled and connection to the server is established.
- The form can only be submitted at the same time as the checkout. Before submitting, you can edit the form without restrictions. After submitting, you can no longer edit the form.
View sent check-ins on the map
The monitoring service allows you to view the previously sent marks along with a photo and a comment on the map. To view the marks:
- Go to the Monitoring app;
- Select the required device from the list;
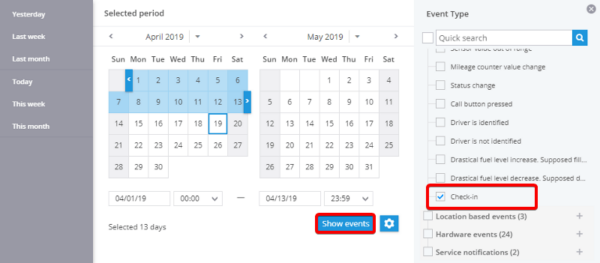
- Click on the “Events” button;
- Select the type of event;
- Specify the time interval;
- Click on the "Show Events" icon.
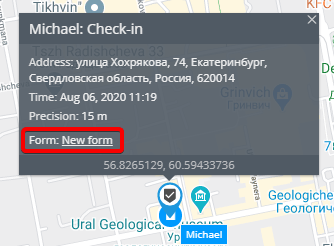
On the map you will see all the check-ins for the selected time period. By clicking on them, you can see detailed information:
- Time stamp
- Full address
- Name of the employee who sent the check-in
- The form. By clicking on its name, you can view the contents of the submitted form
